INSTALL INSTRUCTIONS
Install Propulsion
1.- Install an eSurf or eFoil Propulsion System into the board.
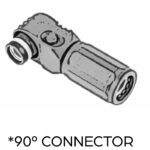
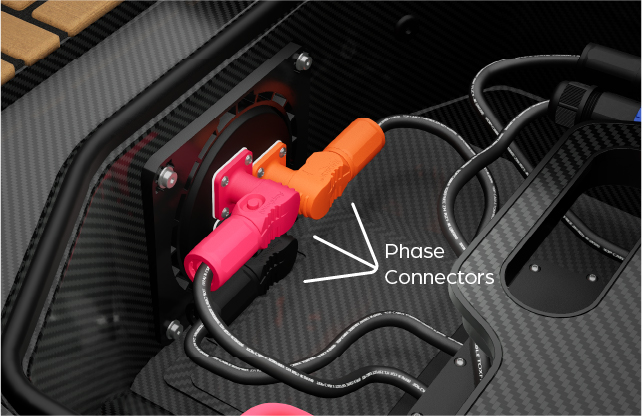
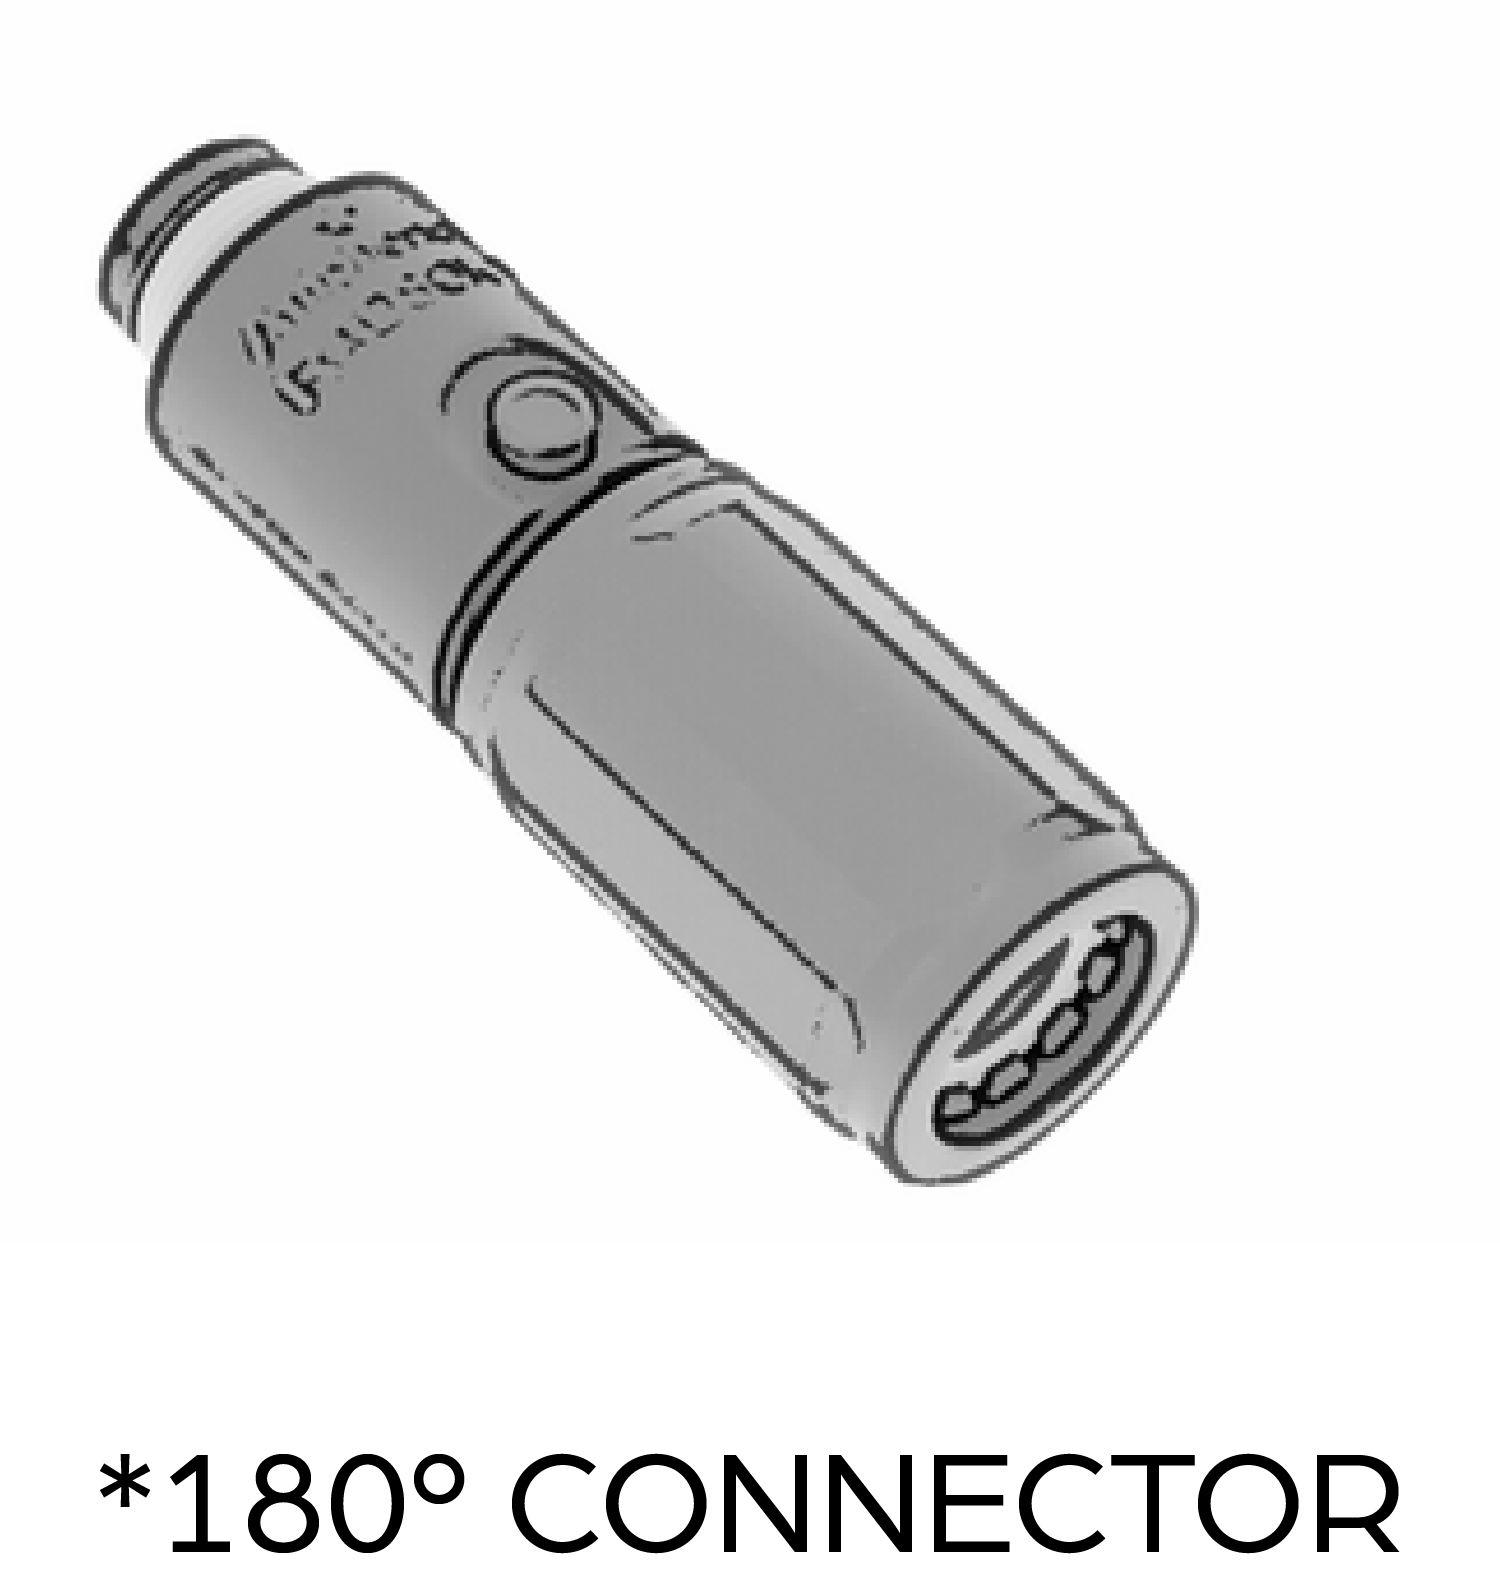
2.- Connect the three (3) Phase connectors*, ensuring you respect the color code.
WARNING: DO NOT CONNECT THE POWER CONNECTORS INTO THE PROPULSION SYSTEM.
Install Battery
1.- Install the Battery in the board.
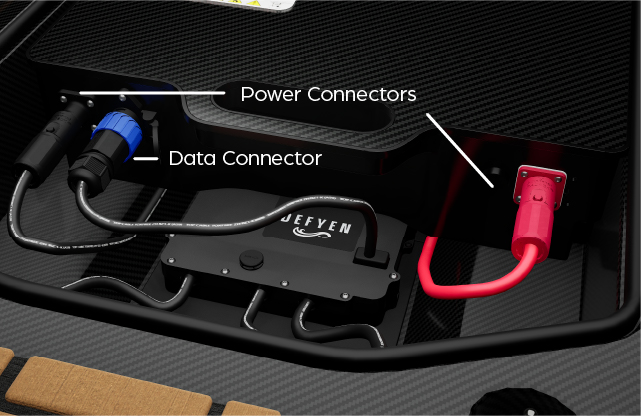
2.- Connect the two (2) Power connectors**, ensuring you respect the color code.
3.-Connect the data connector.
WARNING: DO NOT CONNECT THE PHASE CONNECTORS INTO THE BATTERY.
Pairing
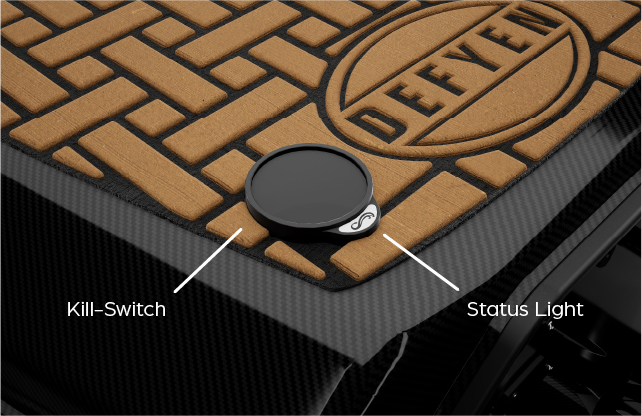
1.- Make sure the kill-switch isn’t on the board.
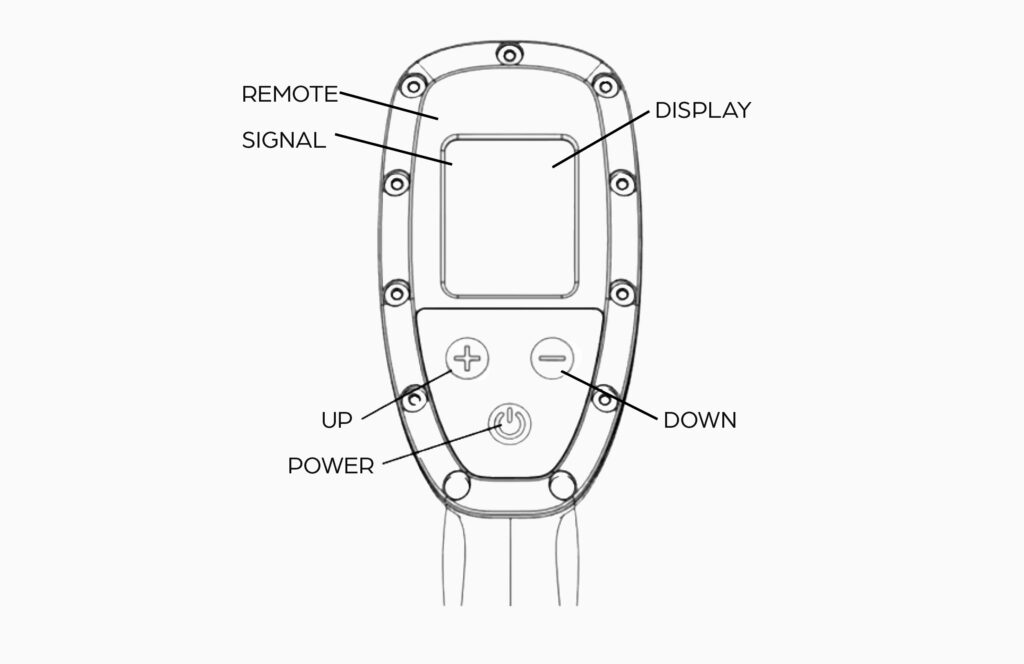
2.- Turn on the remote.
3.- Enter “Settings” by holding “power button” , than select “Pairing”.
4.- Once it displays “Searching”, install the on the board.
5.- Wait until it says “Successfully paired”.
6.-The remote will restart and you are ready to go!.
Start Up
1.- Close the cover and make sure to push near the latches until it’s fully secure.
2.- Ensure the Kill-switch is installed and the Status light flashes slowly.
3.- Strap the kill-switch to your ankle.
4.- Make sure the top left Signal icon on the remote display is white, which confirms that it is paired to the board.
5.- Ride safely and respect your local laws and regulations.